记录react+node+mongodb项目部署到服务器的过程
本文最后更新于: 2022年10月10日 下午
[toc]
前言
我之前只做过web前端开发,对服务器相关的东西是纯小白,这篇文章仅用来记录学习。
常用Linux命令
1 | |
购买服务器
我的服务器信息:
- 阿里云轻量服务器:2G运行内存 2核 60G硬盘 1000G流量/月
- 镜像信息: CentOS 7.3
- 公网 IP: http://101.132.140.62
- 备案后才可以使用80端口访问域名
- 我没有备案 暂时通过公网 IP 访问
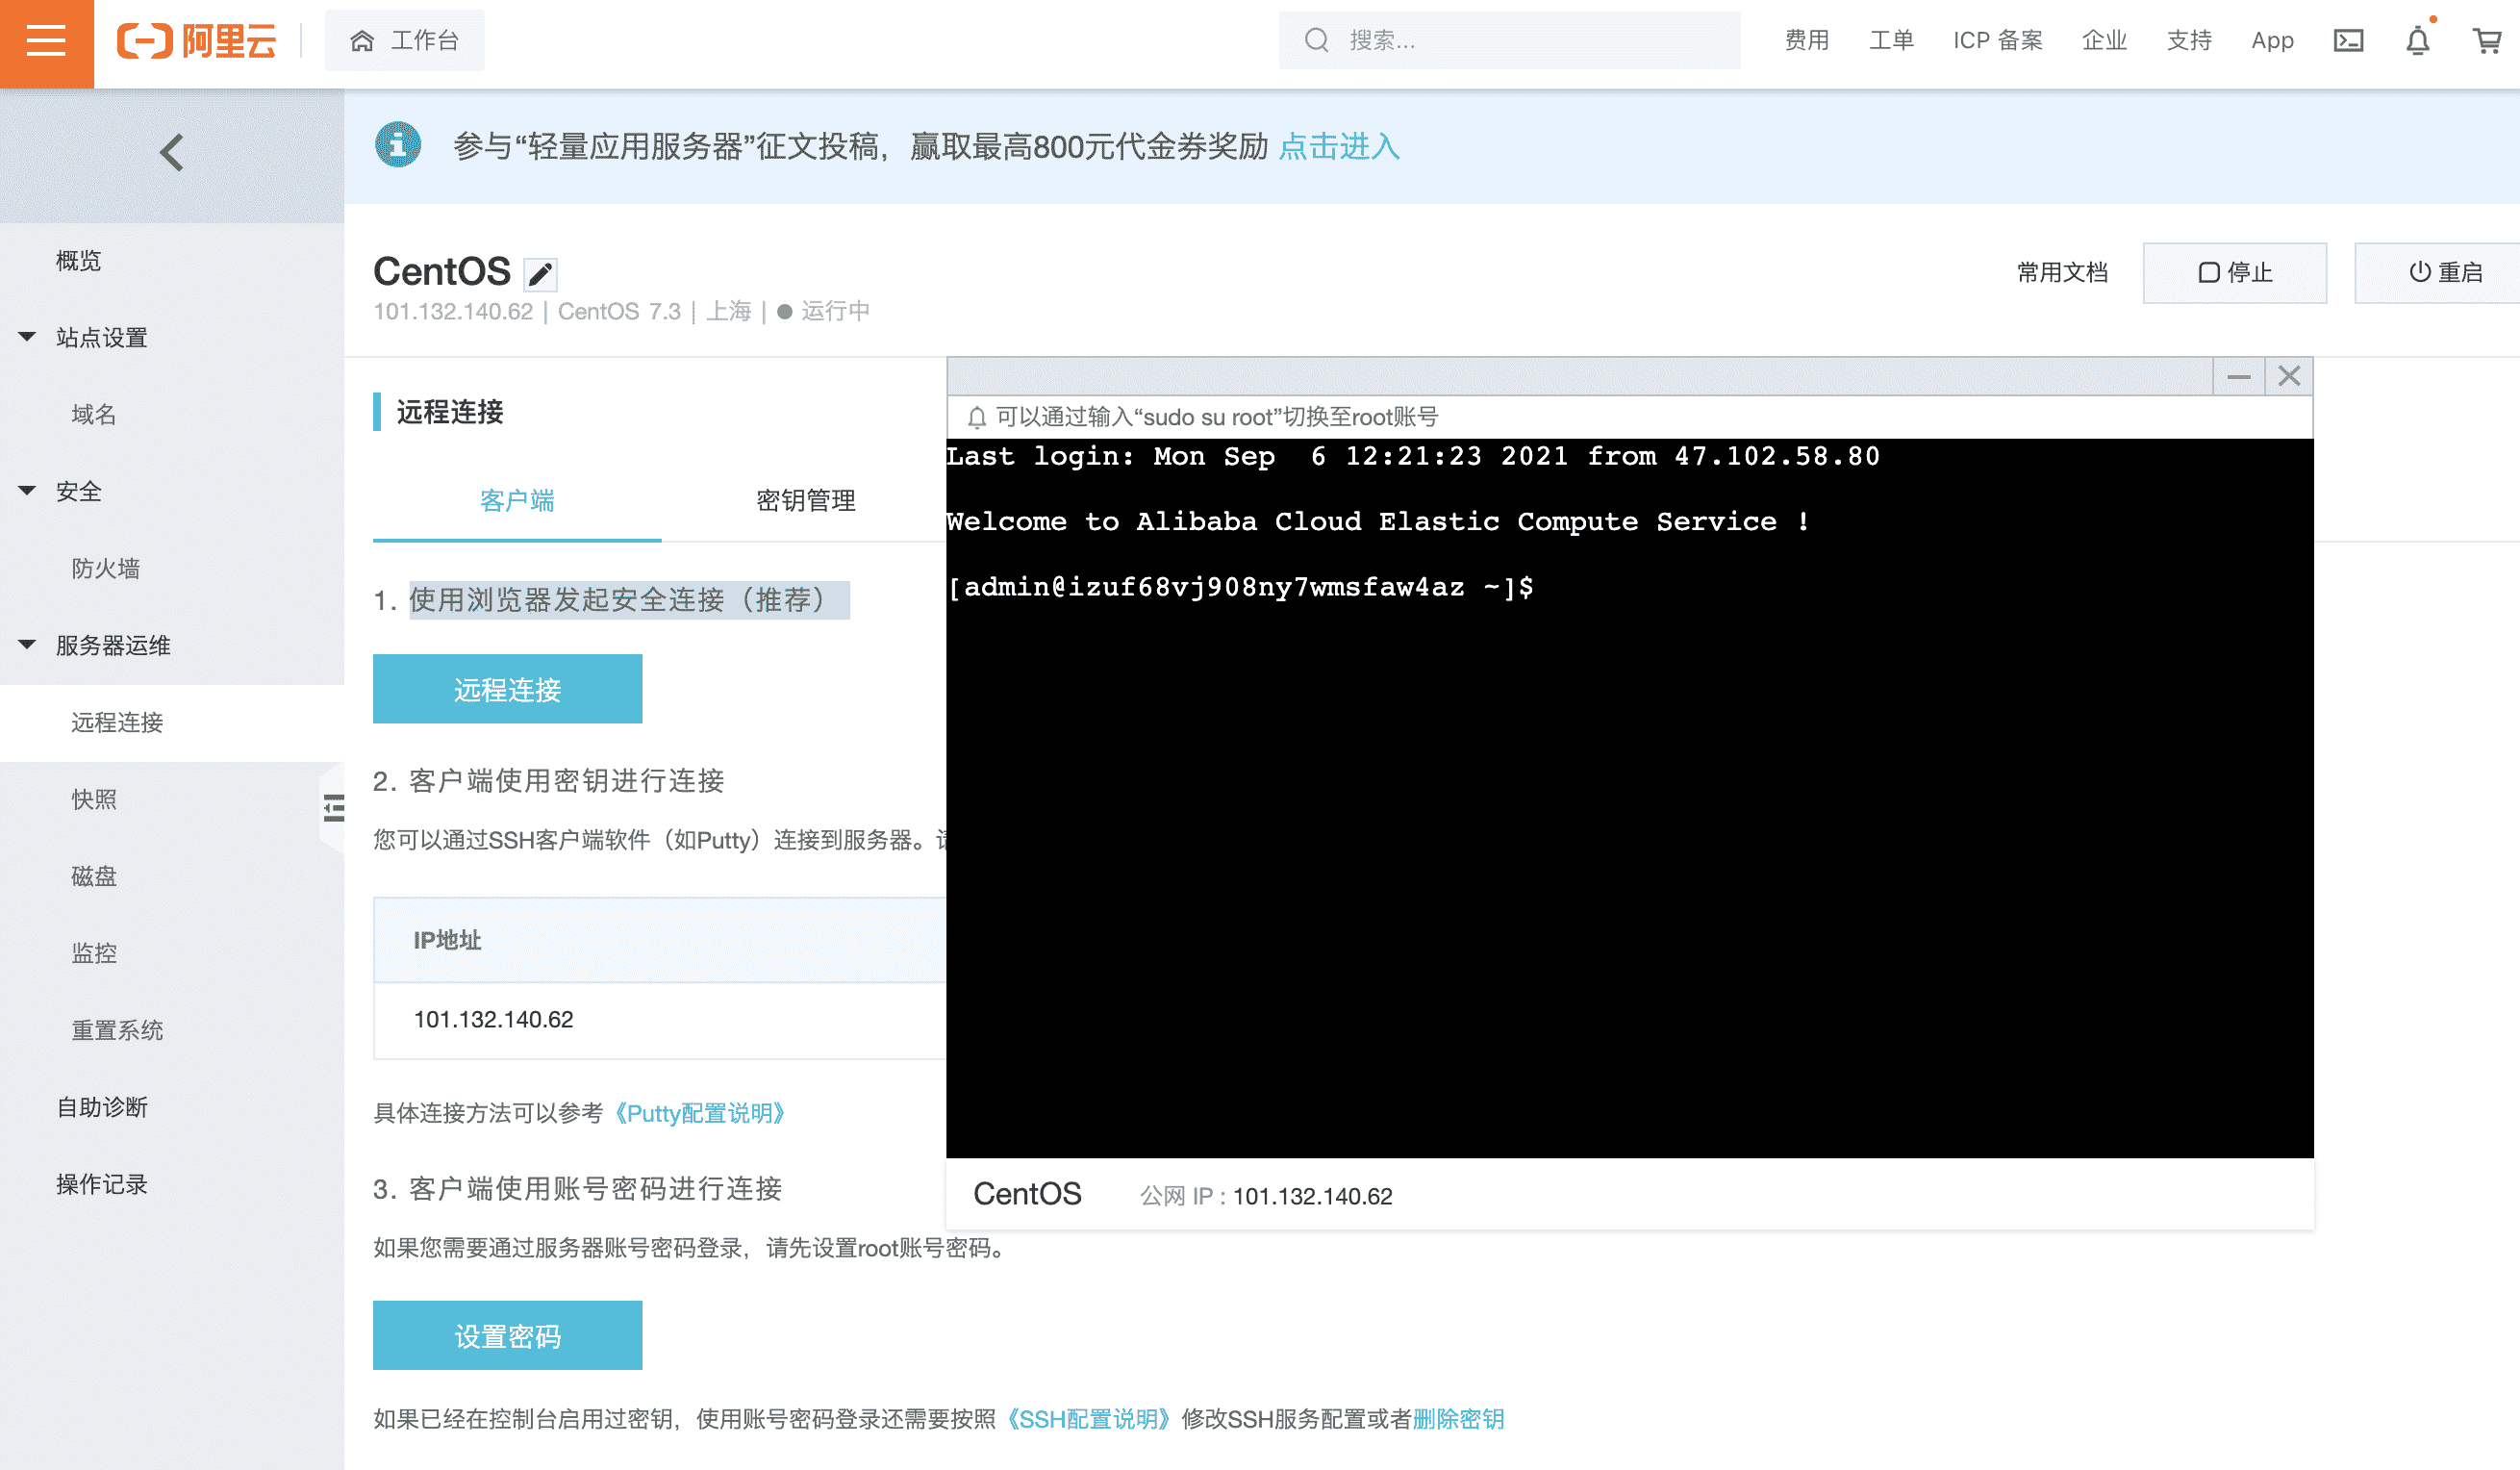
SSH 连接到服务器
- 在阿里云的工作台 使用浏览器发起安全连接(推荐)
- 客户端使用账号密码进行连接 (在阿里云后台设置密码后,在电脑终端执行 ssh root@101.132.140.62 根据提示输入密码)

安装node.js
先安装nvm 然后 通过nvm 安装跟本地开发环境一样的nodejs 版本
curl -o- https://raw.githubusercontent.com/nvm-sh/nvm/v0.38.0/install.sh | bashsource ~/.bashrcnvm install 12.16.1(安装的第一个版本成为默认版本)
安装mongodb
参考: https://jasonkayzk.github.io/2021/03/10/CentOS7%E5%AE%89%E8%A3%85MongoDB/
还是要跟着官方文档走,有人写得博客内容可能已经过时,或者作者得内容本身就有问题.
创建/etc/yum.repos.d/MongoDB-enterprise-4.4. repo 文件,这样您就可以直接使用 yum
1
2
3
4
5
6
7
[mongodb-enterprise-4.4]
name=MongoDB Enterprise Repository
baseurl=https://repo.mongodb.com/yum/redhat/$releasever/mongodb-enterprise/4.4/$basearch/
gpgcheck=1
enabled=1
gpgkey=https://www.mongodb.org/static/pgp/server-4.4.asc注释
1
2
3
4
5
name # 名称
baseurl # 获得下载的路径
gpkcheck=1 # 表示对从这个源下载的rpm包进行校验;
enable=1 # 表示启用这个源
gpgkey # gpg验证sudo yum install -y mongodb-enterprise验证安装结果
1
2
3
4
5
6
7
8
9
10
执行: rpm -qa |grep mongodb
输出:
mongodb-enterprise-server-4.4.8-1.el7.x86_64
mongodb-enterprise-tools-4.4.8-1.el7.x86_64
mongodb-enterprise-database-tools-extra-4.4.8-1.el7.x86_64
mongodb-enterprise-4.4.8-1.el7.x86_64
mongodb-enterprise-shell-4.4.8-1.el7.x86_64
mongodb-enterprise-mongos-4.4.8-1.el7.x86_64
mongodb-database-tools-100.5.0-1.x86_64
mongodb-enterprise-cryptd-4.4.8-1.el7.x86_64启动MongoDB服务
1
systemctl start mongod.service验证服务开启
1
2
3
执行: mongo
输出: MongoDB shell version v4.4.8
connecting to: mongodb://127.0.0.1:27017/?compressors=disabled&gssapiServiceName=mongodb安装Nginx
安装
1 | |
使用 yum 进行 Nginx 安装时,Nginx 配置文件在 /etc/nginx 目录下。
配置Nginx 服务
1 | |
安装git
安装 npm 依赖
在使用npm install 的时候提示 core-js-pure postinstall 执行出错
1 | |
解决方式:
1 | |
原因:
npm 出于安全考虑不支持以 root 用户运行,即使你用 root 用户身份运行了,npm 会自动转成一个叫 nobody 的用户来运行,而这个用户几乎没有任何权限。这样的话如果你脚本里有一些需要权限的操作,比如写文件(尤其是写 /root/.node-gyp),就会崩掉了。
为了避免这种情况,要么按照 npm 的规矩来,专门建一个用于运行 npm 的高权限用户;要么加 –unsafe-perm 参数,这样就不会切换到 nobody 上,运行时是哪个用户就是哪个用户,即使是 root。
权限不足报错时使用npm的姿势:
sudo + 命令 + –unsafe-perm
emmmm….
在国内加速 npm 安装依赖的
在项目根目录 创建.npmrc文件
1 | |
前端构建环境
- babel+ webpack 构建时报错:Can’t resolve ‘regenerator-runtime/runtime’
之前构建是正常的啊,奇怪…可能后面项目中用到了什么新语法吧
注意我项目中的
babel版本是7.9
解决:只需运行 npm i regenerator-runtime 就可以修复它,
去看了 babel 官网关于useBuiltIns 这个配置项,是这样描述的:
1 | |
说实话我没读懂…
- gifsicle pre-build test failed
ngix 代理请求到 express 并开启gzip
- 我的配置文件路径是
/etc/nginx/nginx.conf - 我的express 运行的端口是 3000
1 | |
修改配置文件后 执行sudo service nginx reload
SEO robots.txt文件配置
起因:查看服务器日志发现不断有人有请求/robots.txt
查询后得知 robots.txt 文件规定了搜索引擎抓取工具可以访问您网站上的哪些网址。 此文件主要用于避免您的网站收到过多请求;
robots.txt 文件中的以下指令:
- user-agent: [必需,每个组需含一个或多个 User-agent 条目] 该指令指定了规则适用的自动客户端(即搜索引擎抓取工具)的名称。这是每个规则组的首行内容.
- disallow: [每条规则需含至少一个或多个 disallow 或 allow 条目] 您不希望用户代理抓取的目录或网页(相对于根网域而言)。
- allow: [每条规则需含至少一个或多个 disallow 或 allow 条目] 上文中提到的用户代理可以抓取的目录或网页(相对于根网域而言)。
- itemap: [可选,每个文件可含零个或多个 sitemap 条目] 相应网站的站点地图的位置。站点地图网址必须是完全限定的网址
这是我的 robots.txt :
1 | |
使用PM2部署项目
什么是PM2: PM2 是一个守护进程管理器,它将帮助您管理和保持您的应用程序在线
快速使用:
1 | |
我在项目中的使用: 在项目根目录下新建一个 pm2_start.sh 文件,每次提交后项目后,再服务器环境中执行 sh pm2_start.sh
Todo: 我的这种不是好的部署方式
1 | |
后端构建遇到的问题:
Command failed: /bin/sh -c autoreconf -ivf gifsicle postinstall
原因:We are using imagemin-gifsicle and therefore gifsicle-bin as part of our build. With the release 5.0.0, the linux bin files got removed. As consequence of that removal, our build does not work anymore on the CI Server. (The build tries to rebuild gifcicle and misses autoreconf for that..)
解决方式:
1 | |

本博客所有文章除特别声明外,均采用 CC BY-SA 4.0 协议 ,转载请注明出处!